Creating An Account


Go to 11sight.com and log in to your account.

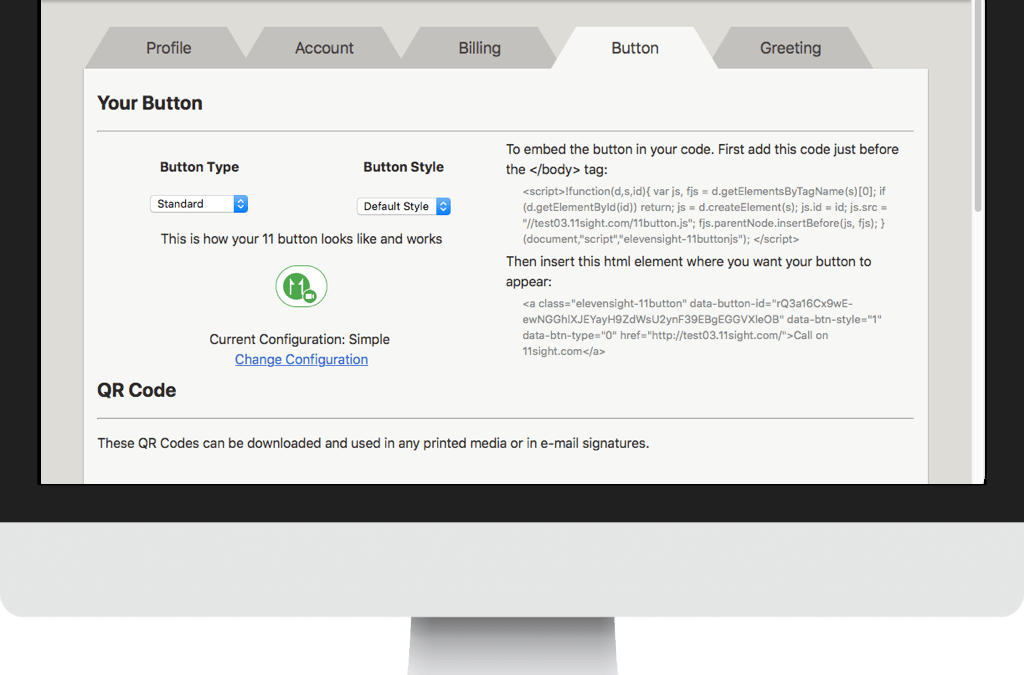
Click the “Settings” icon on the upper right corner of the screen and go to “Button” tab.

You will find 2 different buttons already created for you. You can click “Test” on each button to see how they work. After you select a button, simply click “Get Embed Code” link to see the code.
If you have a web developer, copy the two pieces of the code and send it to them asking them to add the code to your website.
If you manage your website yourself, first copy the script on the top and add it to the end of your page’s html source, just before the < / body > tag.
Then, copy the html element and insert it into your page where you want your button to appear.

Publish your changes
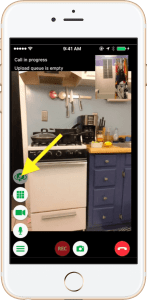
Now, visitors to your website will be able to start an 11-call with you in just one click.


Neueste Kommentare